Whether you’ve got a green thumb or despise dirt, planting herbs is a sure way to amp up food and drinks all summer long. Here’s what you need to get started.
When the weather turns and I start to sense even the slightest hint of spring, I can barely resist the urge to get outside and start digging in the dirt. After all, the sooner you start your garden, the sooner you can enjoy the fruits of your labor. However, Mother Nature isn’t always on our side right now—and there’s nothing worse than spending a Saturday planting, only to watch that sneaky final frost destroy your efforts the following week. That’s why this time of year, I flex my green thumb indoors by planting a container herb garden. The best part? Even those of you who are averse to dirt can start here and enjoy fresh herbs in your food and cocktails all summer long.
Watch Your Garden Grow
A home garden overflowing with fruits and vegetables comes with time, dedication, and plenty of trial and error. With indoor herb gardening, you don’t need large raised beds or a big plot of land. In fact, you can even use something as simple as a few old coffee canisters placed on a sunny window ledge to grow a beautiful, delicious herb garden. Here’s how to do it:
- Follow the sun.
Identify where you get the most sun in your home, whether it’s your back porch, patio, balcony, or window ledge. You want to place your plants in a spot that gets at least 6 hours of sun each day. Once it’s warm enough, you may want to move your containers outside. - Decide how many herbs you’d like to grow. For culinary purposes, this means deciding which ones you like to eat the most. For starters, I suggest these six: parsley, rosemary, thyme, basil, mint, and oregano. If you’re feeling adventurous, add cilantro, lavender, sage, and chives.
- Choose your vessels. Considering you will be staring at these pots for months, you’ll want to find containers you really like or that suit your décor. Inexpensive pots or containers can be found everywhere from garden-supply stores to the dollar store. Pro tip: I usually keep two containers of each plant going at the same time, so when I clip one to add to a meal or cocktail, I still have another ready for the next day.
- Decide to start with seeds … or sprouts. The main difference here is price and time. If you are getting started early in the season, opt for seeds—the less expensive of the two. They take a little longer to get going, but can be just as prolific as sprouts (a.k.a., tiny starter plants).
- Gather your gear. You’ll need a watering can and some garden gloves to plant and maintain your herb garden. Also, be sure to use potting soil—not garden soil, which could have pests or be too dense.
- Read the instructions. Each packet of seeds or starter plant has instructions printed on the package or on a pick stuck in the soil. This will give you specific instructions on things like required sunlight, how much water the plant needs, and how much space each herb will require. Pay close attention, as these directives will tell you exactly what you need to know for growing success.
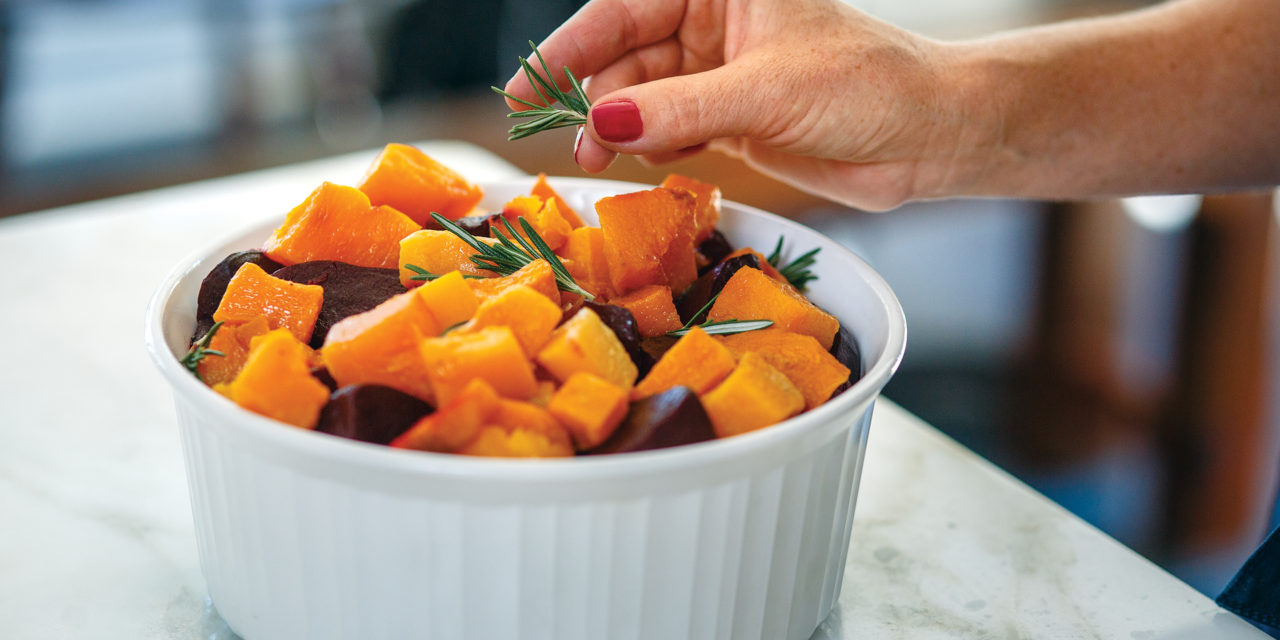
- Reap what you’ve sown. Use kitchen shears or sharp scissors to snip the leaves on your plants. Avoid breaking the stems or using dull cutting tools, which could affect how well the plants keep growing. Once clipped, keep your herbs away from light and moisture. In fact, it’s best to snip as needed and use immediately for the best flavor and freshness.
With indoor herb gardening, you don’t need large raised beds or a big plot of land. In fact, you can even use something as simple as a few old coffee canisters placed on a sunny window ledge to grow a beautiful, delicious herb garden.

For more entertaining advice and tips on making everything good, go to Maureen Petrosky Lifestyle.