As soon as the temperature reaches 70 degrees, my husband and I automatically start cooking our meals outdoors since our home lacks central air conditioning. But by the time August rolls around, we get a little bored with our typical grilled fare—I swear I’d find more excitement in a bowl of Captain Crunch than a turkey burger these days.
So when I proposed we grill pizza, my husband jumped at the challenge. Grilled pizza isn’t a new phenomenon, but it always intimidated me because I assumed I’d have to build a wood-burning oven in the backyard, a la Gwynnie, or drop some coin at Williams Sonoma for pizza-making accouterments. But with a little research, I learned that we needed only one thing to make grilled pizza: a grill.
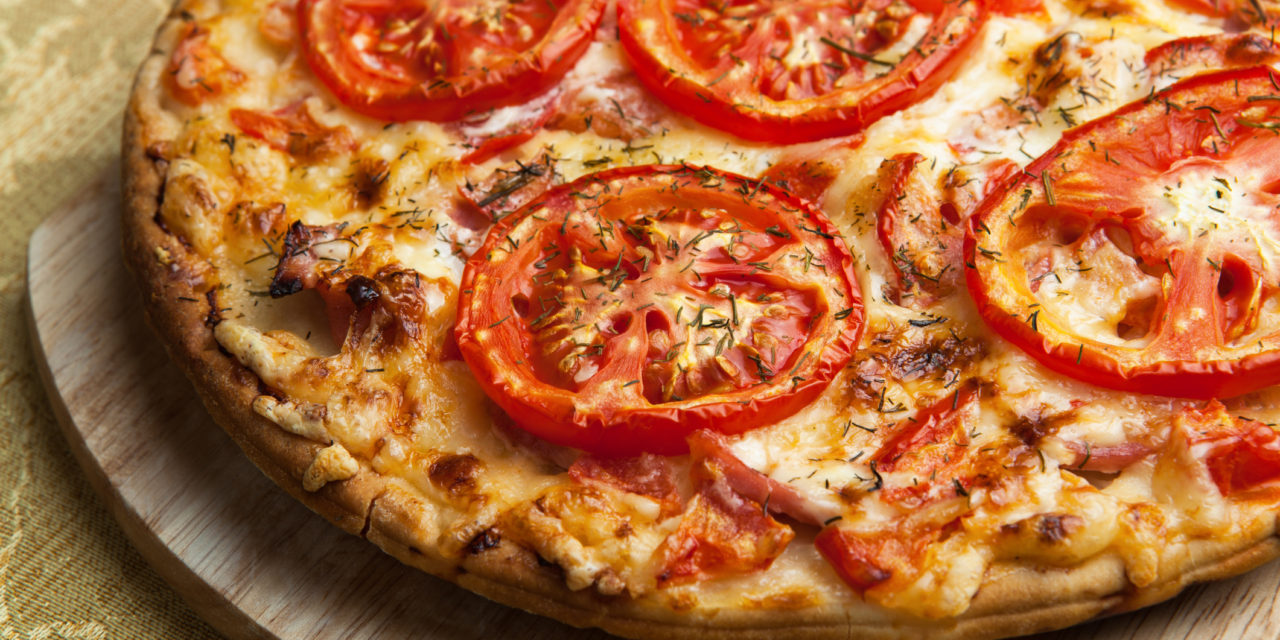
The end result? Amazing. Simply. Truly. Amazing. We have always made pizza at home in the oven, but this is the first time we’ve made a pie that tastes as like something you’d get from a gourmet, brick-oven pizzeria. The crust is thin and crispy on the outside with a hint of smoke. As for toppings, I recommend going lighter—too much cheese and sauce can make the crust soggy and fall apart. I’m a fan of crushed tomatoes and disks of mozzarella and fresh basil for a grilled margarita. You can also find some good topping suggestions courtesy of Oprah.
Really, grilled pizza is the perfect meal for late summer/early fall weekends, when you’re trying to use up all those tomatoes from your garden. Or try it out for a unique spin on a Labor Day barbecue.
So how do you do it? Here’s a step-by-step tutorial for our process.
STEP 1: Do your research. Grilled pizza instructions abound on the Web. I read a ton, digested them all, and then took a hybrid approach. I always trust the folks from The Kitchn
STEP 2: Get your dough. You can make your own pizza dough if you’re extra ambitious—Martha has a good recipe for that—but I prefer to make life easy by picking up a premade dough. Most grocery stores sell them, and I’ve found success with Trader Joe’s, Wegmans and Giant.
STEP 3: Turn the grill on, put the heat as high as it can possibly go.
STEP 4: If you’re doing a red pizza, heat your sauce. It’ll help the cheese melt faster, reducing the chances that your crust will burn. We typically roast tomatoes and throw them on top, or create our own sauce with crushed tomatoes. Now is the time to roast any vegetables you’d like to put on top, as well.
STEP 5: Prep the dough, and roll it out into a thin square sheet. Make sure to use plenty of flour when rolling it out so the crust won’t stick. We put ours on a cookie sheet to make it easier to transfer to the grill outside.
STEP 6: Here’s where the fun begins. With a grill temp at a high heat, put the dough directly on the grill, laying it out flatly. (I feared the dough would fall through the grates, but it’s never done that.) Let it cook for about 3-4 minutes with the top down.
STEP 7: At this point, there should be grill marks on the cooked side. Turn the heat off, flip the dough over, then start building your pizza. If you’re doing a white pie, brush a little olive oil on the pie. For red, slather it on carefully. Top with cheese and/or meats and veggies, then fire up the grill again as high as it can go for 1 minute. If the cheese/toppings aren’t hot enough, lower the heat and let it cook until the cheese is melted. Just make sure you don’t burn the crust.
STEP 8: Remove the pizza from the grill and enjoy.